First off, I want to apologize for my major break from blogging the past year or so life’s been pretty busy in our house. It was much needed pause but I’m glad to say I’m back and I cant wait to share some of the creative projects I have been working on with and with out my little boy.


Since I have been gone so long, I figured I would start with an easy diy and these diy mini magnets are the perfect. Any one can make these artist or not.

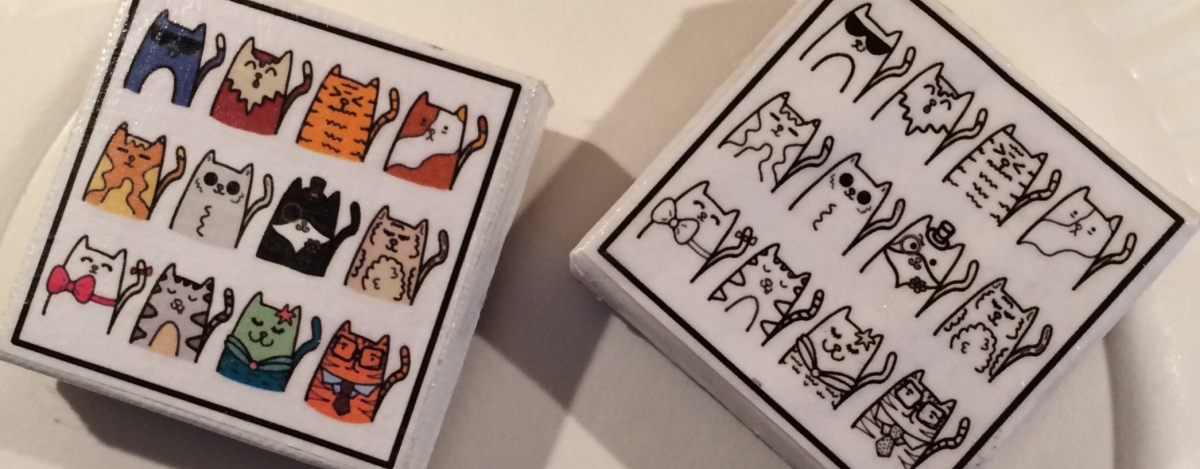
 Recently, I have been drawing a lot on my ipad and was looking for a way to display my cartoon artwork off screen. So I decided to print mini versions of my artwork and modge podge it onto a mini canvas and some on to just cardboard. I also gave my son some magnetic canvas’ to color while I created my own.
If you don’t want to just use card board as a backing you can buy the mini canvas’ anywhere (I have used them in previous blogs) with or without the magnetic backing. This is a great project if you have a lot flat magnets to repurpose or you can just buy magnetic sticker paper.

I used adobe photo shop to create the images for my magnets but you can use any image you want. All you need to do is scale the image or photo to the size of the mini canvas you are using and print it. You do not need to use any fancy photo paper or printers because the modge podge will give the magnet a shine.
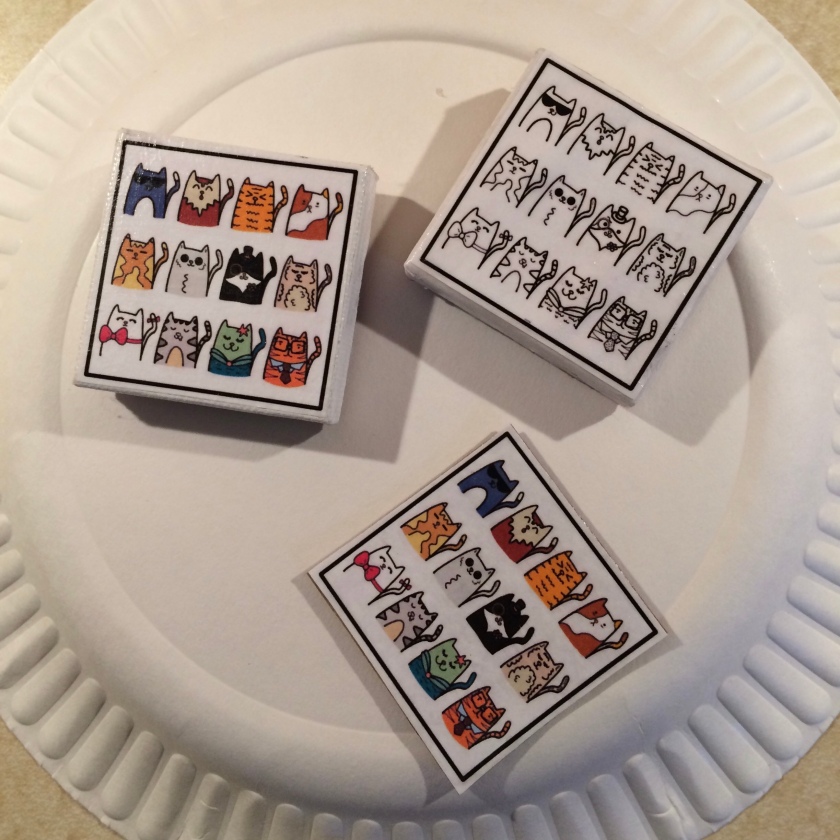
Once you have printed the image cut it out and modge podge it to the small canvas or cardboard. Then modge podge the entire image so that it is completely coated. I usually do a light layer first so the colors of the image don’t bleed and let it dry and then do another coat or two. Then use the magnet paper and stick it on the back or just glue an old magnet to the back and you are done.

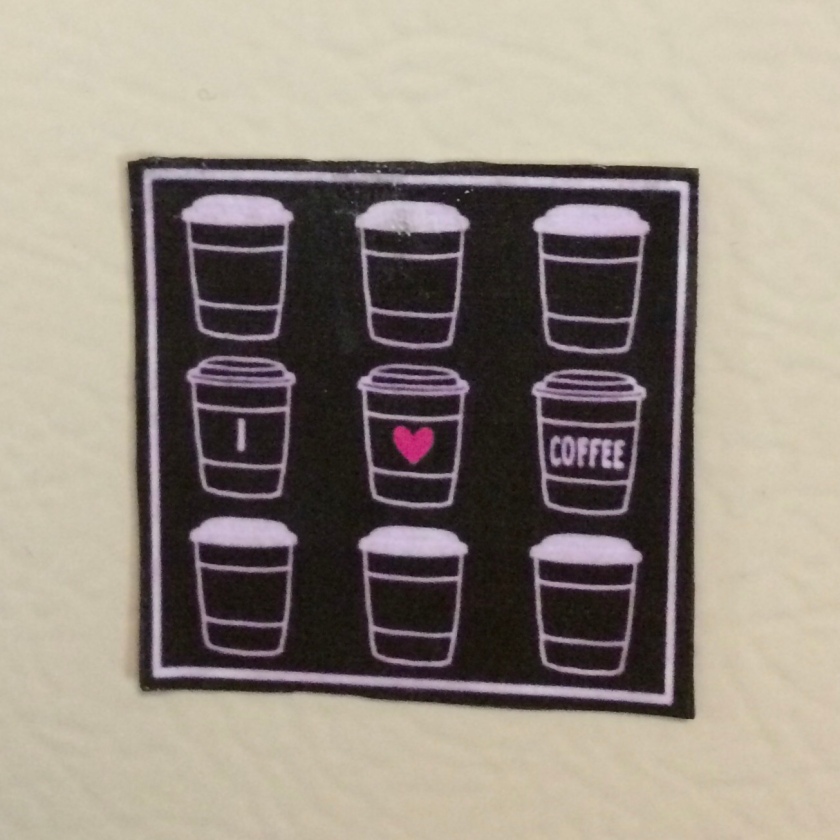

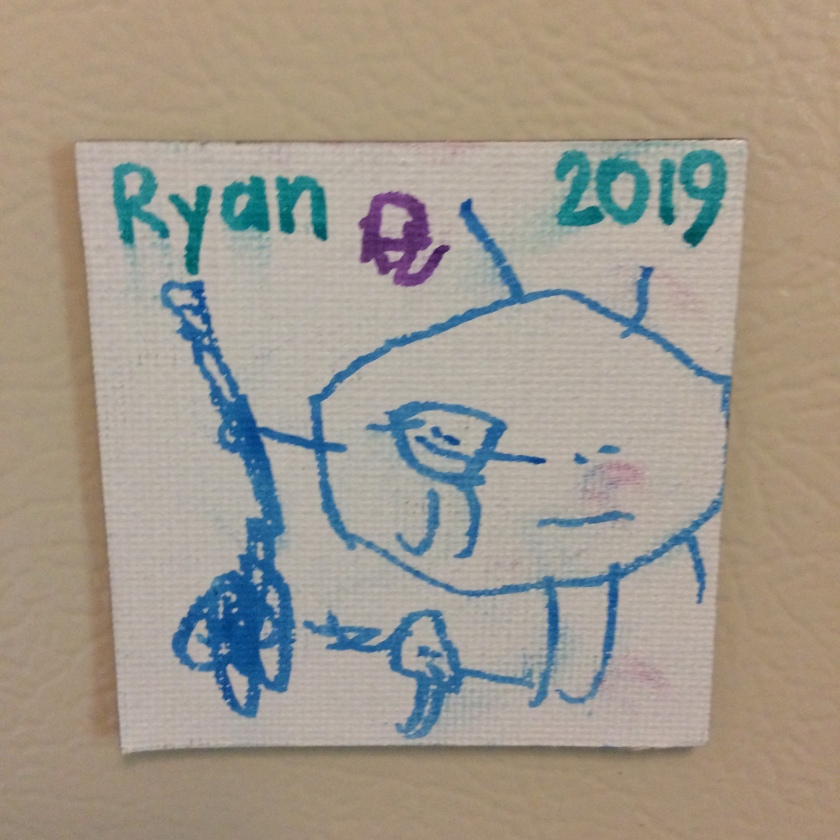
This was a great way for me to put my art on display and gift it as a gift. You can do this with your kids art too. I ran out of colored ink toward the end but that didn’t stop me I just started to print in black and white. The mini magnetic canvas’ are great especially for kids. Give them a few markers and they’ll love that their art work is a magnet too. Hope you enjoy trying this project and it inspires you to create some awesome mini magnetic works of art.
If you like my art you can follow @pizza_squares on Instagram
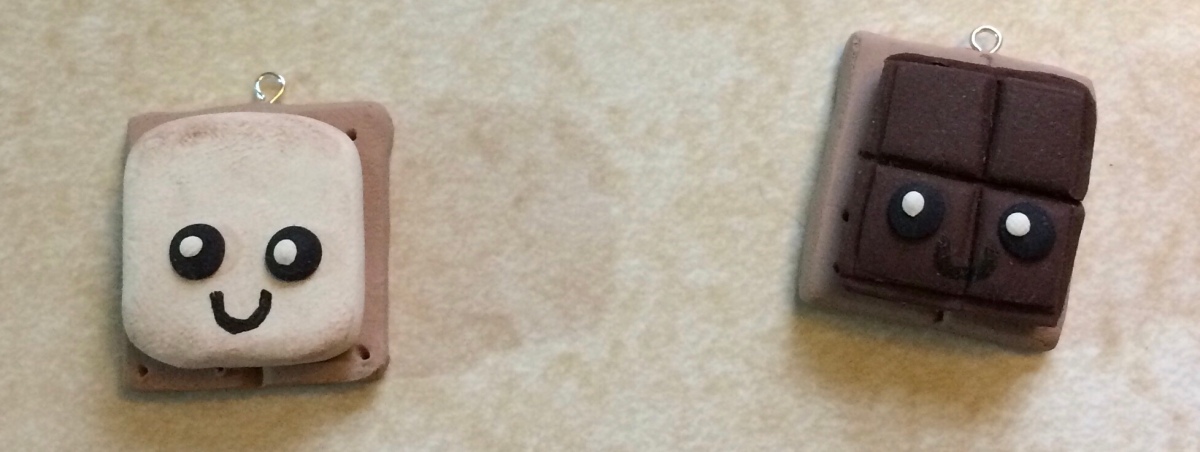
 The best friend s’more charms were my favorite from this batch of clay creations because I personalized them for me and my friend. They were easy. I just rolled out the colors you see into thick flat squares. I shaped the chocolate with a toothpick before cutting off the sides (you can find a tutorial on Pinterest to make a chocolate bar) and the gram cracker I poked holes in with the toothpick. The marshmallow is just a square with rounded off corners and some of the smudged brown clay residue from my fingers to make the toasted look. Then I scored the front of the gram crackers and the back of the chocolate and marshmallow so they would adhere better.
 The camera and picture charm I found on Pinterest and the idea came from @rachn01 on instagram. This was a lot easier than it looks. I made a pink cube and rounded the edges and used a tooth pick to create the line and some smaller black and gray square pieces of clay for the buttons. I used a small piece of pink and black clay in the form of a circle to make the lens. The picture was white clay rolled out thin and cut into a rectangle to give it a Polaroid photo look. You can use a paint marker to creat what ever picture you want but I used some clay to create the little hearts and used the marker for the border. I have a small heart mold so I made a few hearts so I can eventually buy some jewelry chain and attach it to a key ring or even make it a zipper pull.
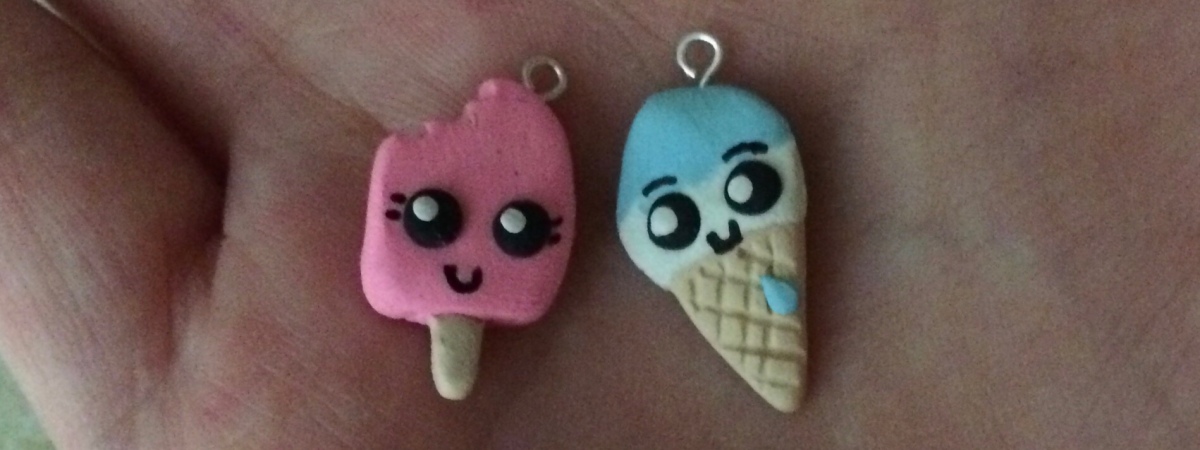
 The frozen treats came out smaller than I though and the ice cream was harder than the popsicle. It was tricky to create a real ice cream look so that is why I made him melting. The popsicle looks like some one bit it to go with the melted ice cream. I used a toothpick for the bite and the scores on the ice cream cone. Good luck on creating the perfect ice cream cone!
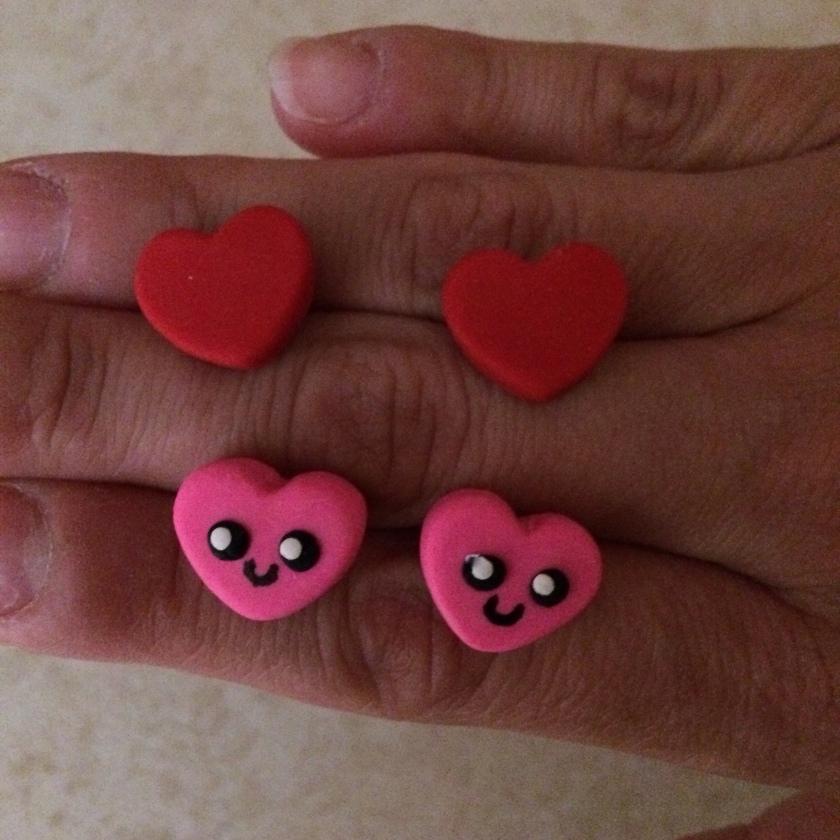 The earrings were super easy I used some earring backs and used my heart mold to create the exact same size earring. These can also be used as push pins if you have sensitive ears. I put a Kawaii face on one pair just because I love Kawaii expressions.
 The lady bug is for my oldest friend who adores lady bugs so I made her one with black and red clay. It was a little tough to form the body using two different colors to get a good line between the head and body but just keep blending. I drew on the spots after it was all cooked and had a little left over clay so I made a heart to go with it.
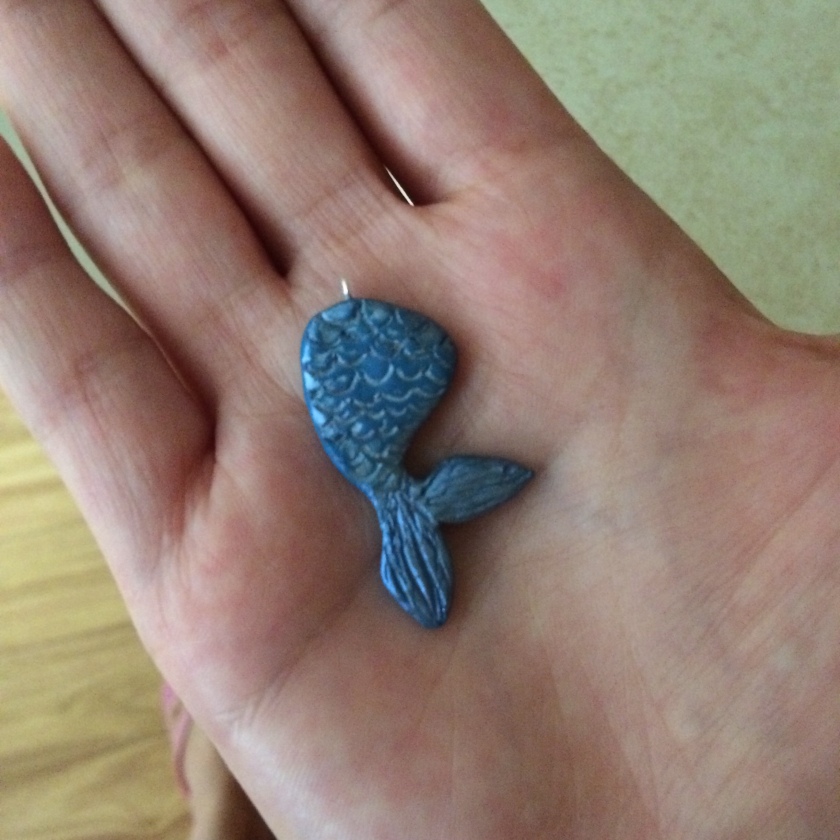
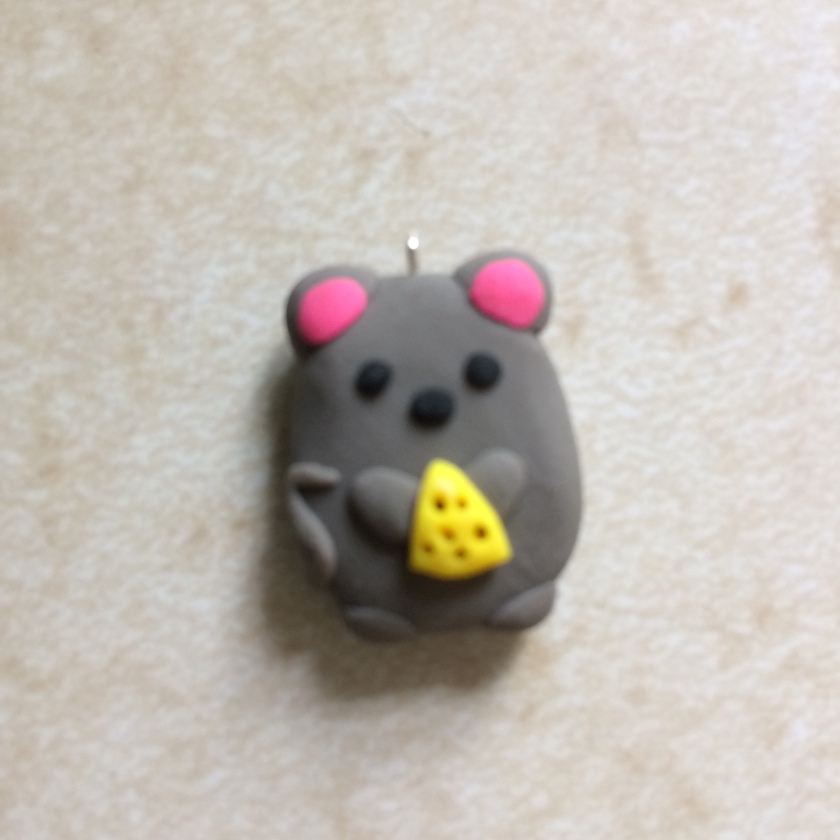 The mermaid tail was the hardest and I didn’t really love the way it came out. I used some pigments to get a shimmery color and used a needle to make the scales. I formed the shape myself but you can totally YouTube tutorials on how to create the perfect mermaid tail shape. Lastly was the mouse with the cheese. It is basically an oval with some minor clay detail to create the look. I used a small yellow triangle for the cheese and poked shallow holes in it to make it look more like cheese.
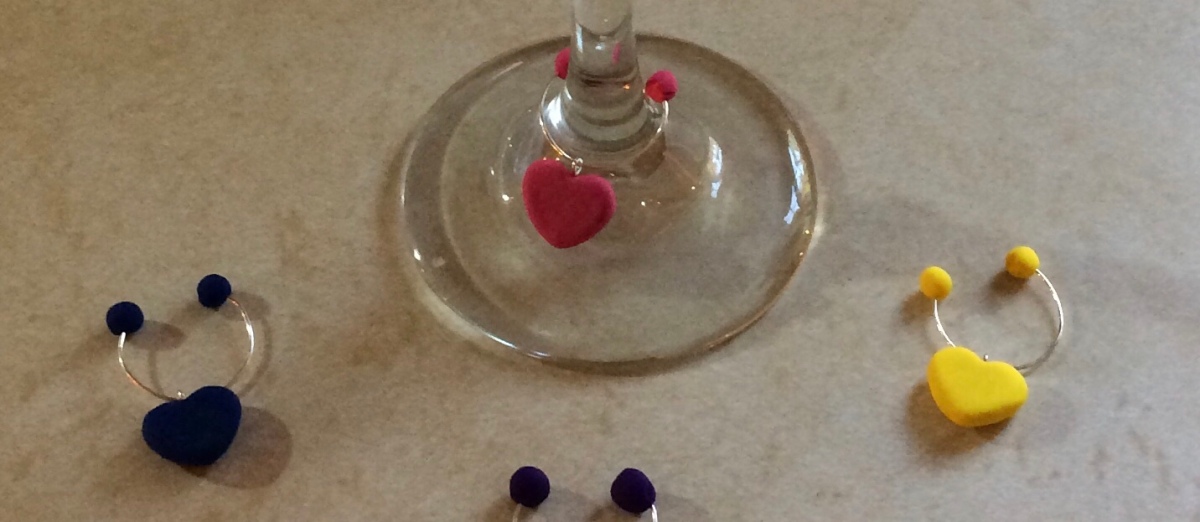
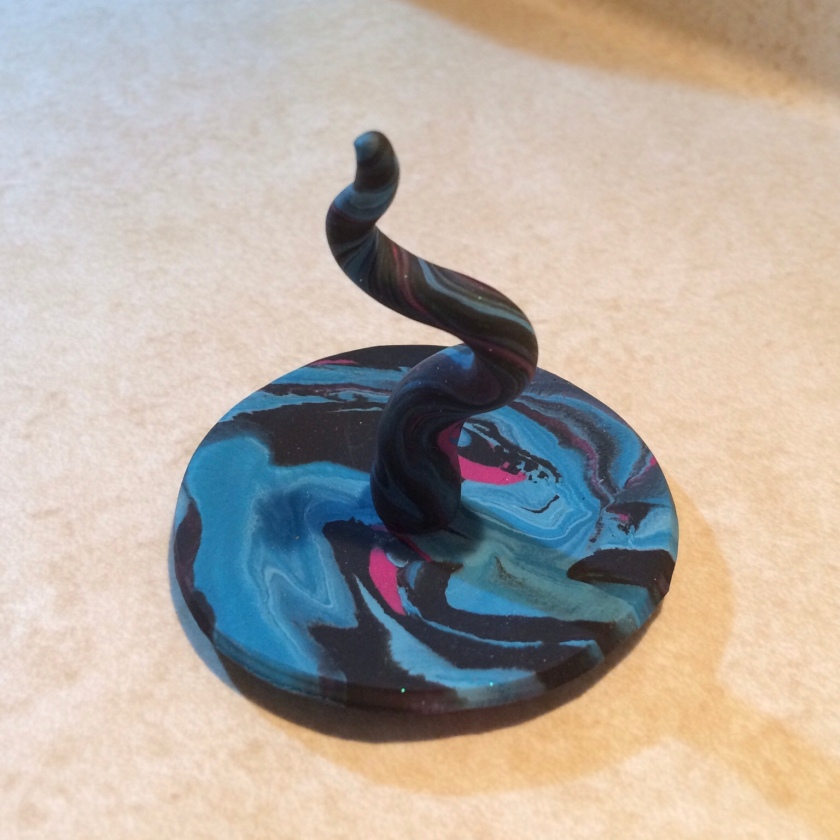
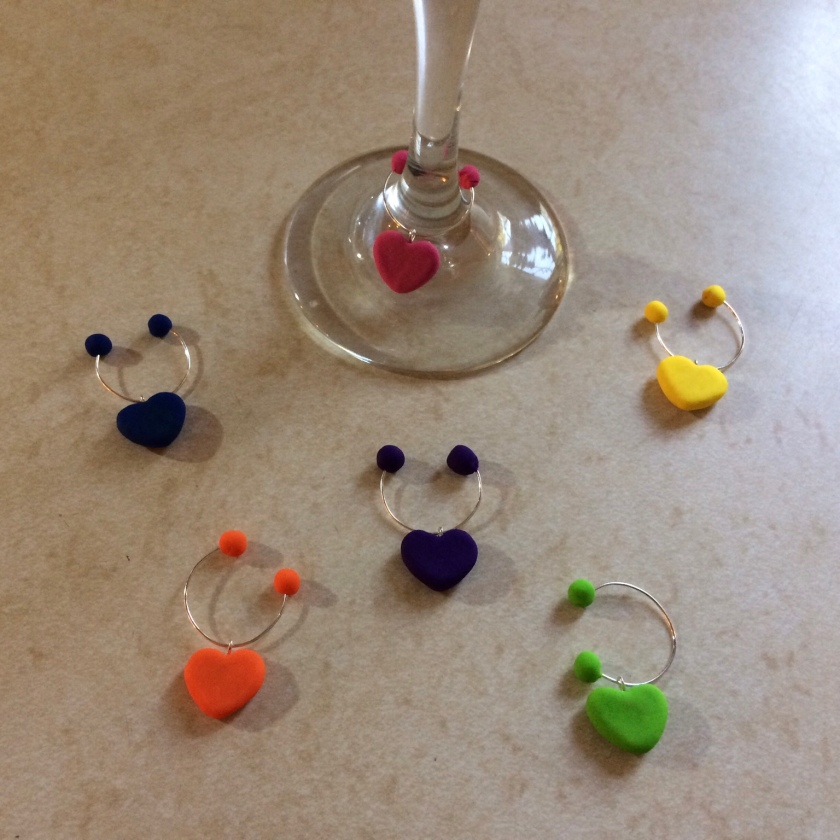 First I formed the heart using a small mold I borrowed from my sons play dough tools and formed 6 different colored hearts. I then I made two balls in each color for the ends of the ring. The balls are just to make sure the heart stays on the ring and that the ring stays on the stem of the glass. After I formed the clay hearts and balls I used an eye pin to attach the heart to the ring. Make sure the eye pin goes in the heart so that you can slip it through the ring so it rest flat on the bottom of the glass. Basically make sure the eye pin hole is going left to right not front to back.
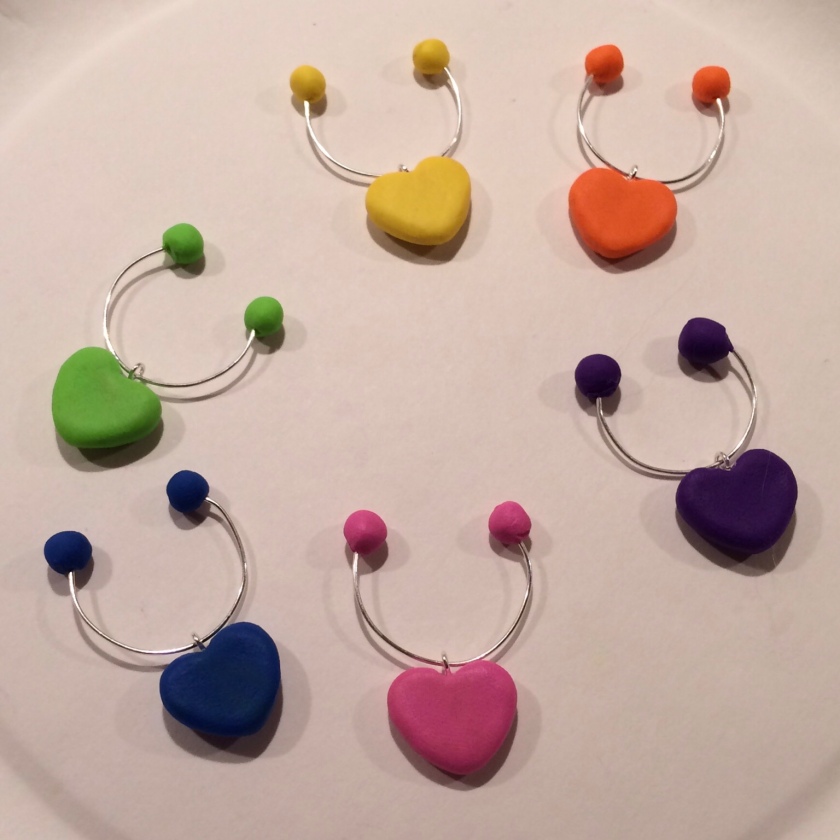 To make the ring I curved eye pins on the neck of a bottle to get a good rounded shape and tested it on a wine glass. I then put the heart charm on the ring and then attached the balls at the end to secure everything. I baked it all put together because it was easier than using pliers to attached the heart charms.
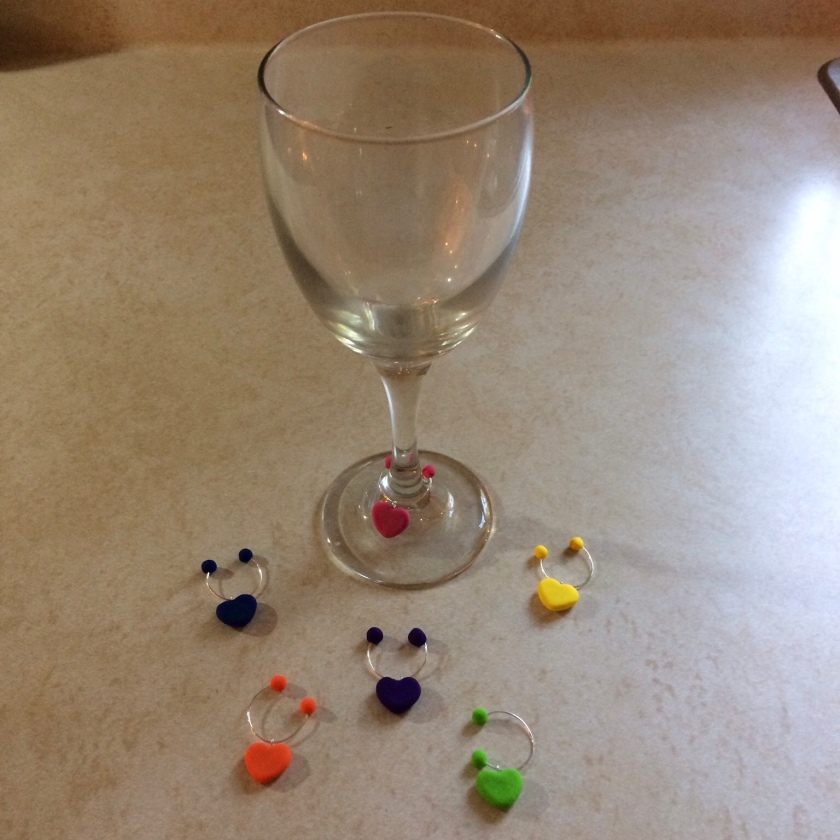 I intend to make a bunch for the holidays to give as gifts maybe even some Christmas themed ones. This is a great idea and you do not need to be a clay expert to make these. You can use what ever shape you want for a charm whether it’s simpler or a more complicated design the possibilities are endless.
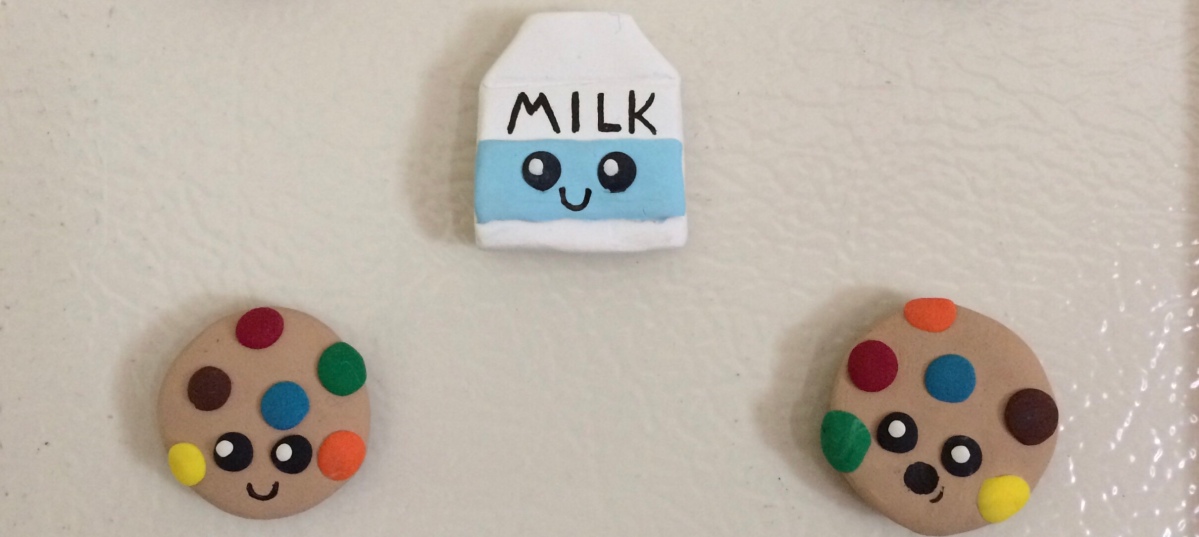
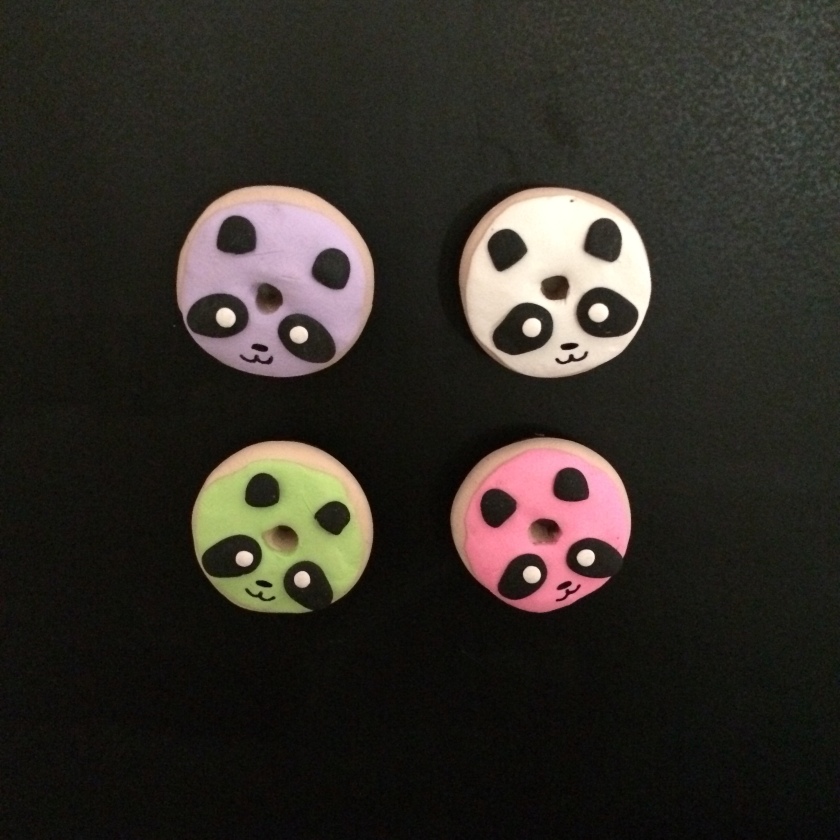
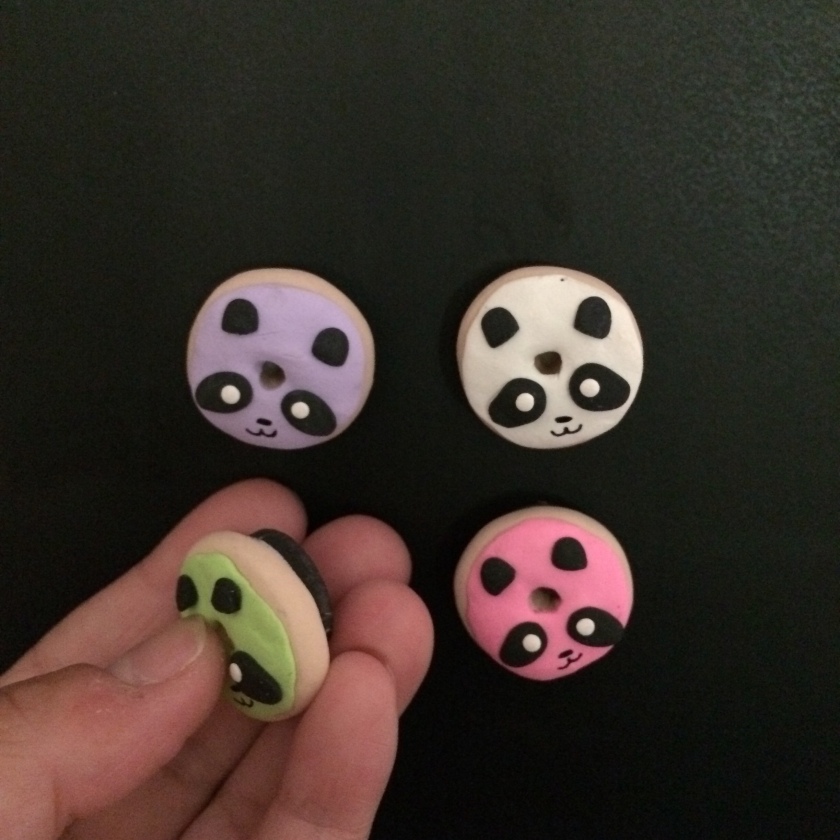 The panda donuts turned out to be my favorite of these designs. I was searching Pinterest and came across these little donuts by @RACHN01 on instagram. To make these I used beige, pink, green, white, pink, and black polymer oven baked clay. I formed the donut with the beige and then mixed white with the other colors to create a sort of pastel frosting. Then I formed the ears and eyes with some black and finished the eyes off with a speck of white. I baked them as per the instructions on the clay pack and after they cooled I drew on a mouth. They were a little more time consuming than the cookies but well worth it. To finish them I added adhesive magnets to the back I purchased at Walmart.
 The cookies were so easy! I got the idea from
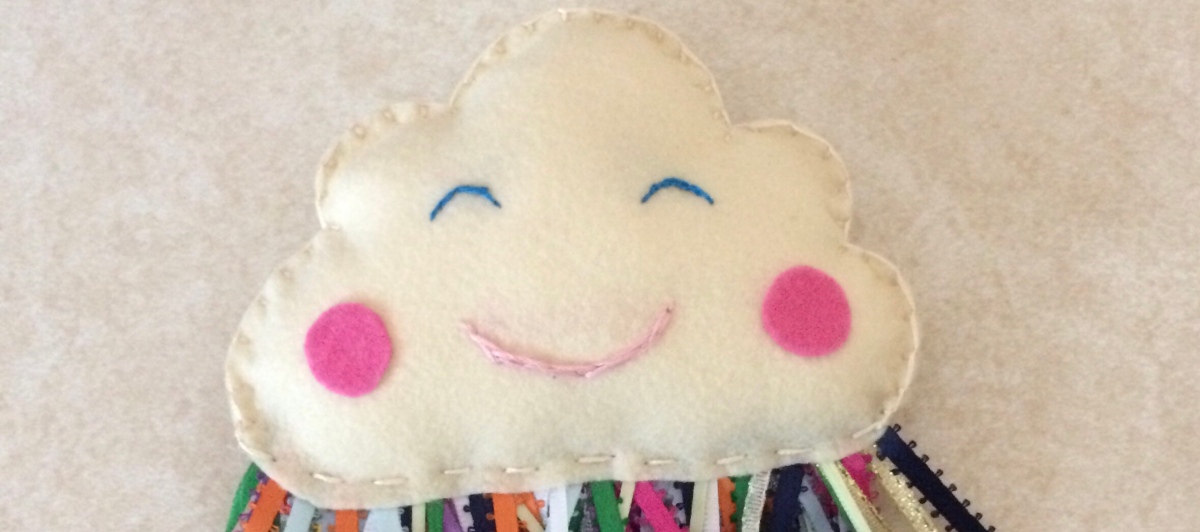
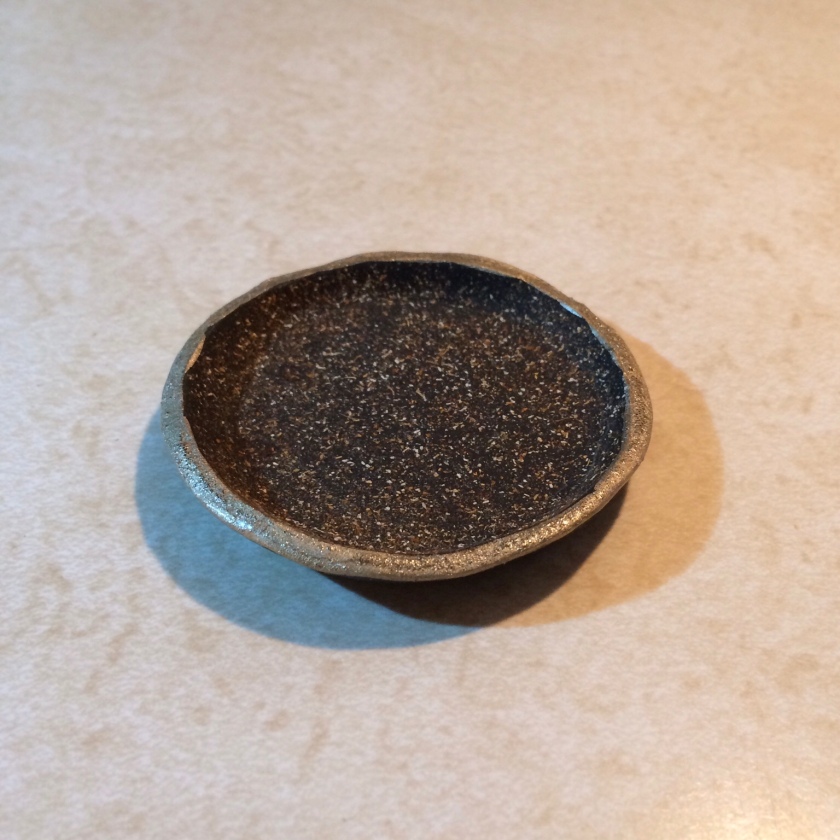
 This project was a little time consuming just because of the ribbon size. If you choose a larger ribbon selection you’ll spend less time than I did glueing all the tiny ribbons in place. I cut out my cloud (I used a cloud ring dish for the shape) sewed the face on and put it aside. I then took my ribbon and cut it two times the size I desired so I could fold it in half ( instead of gluing two times as much your just gluing the fold in the ribbon).
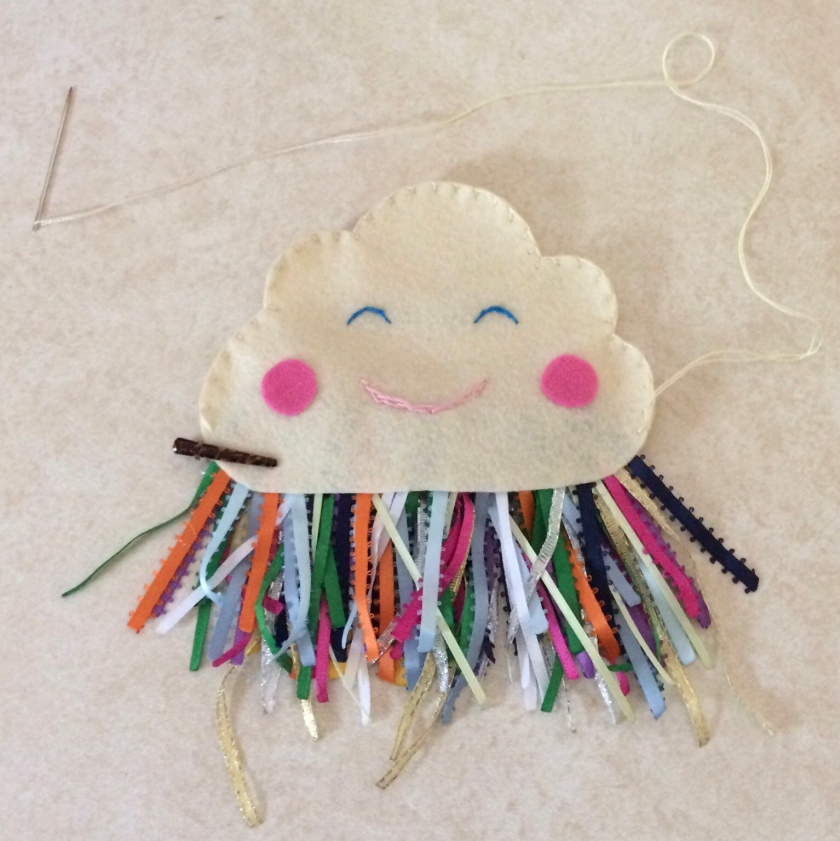
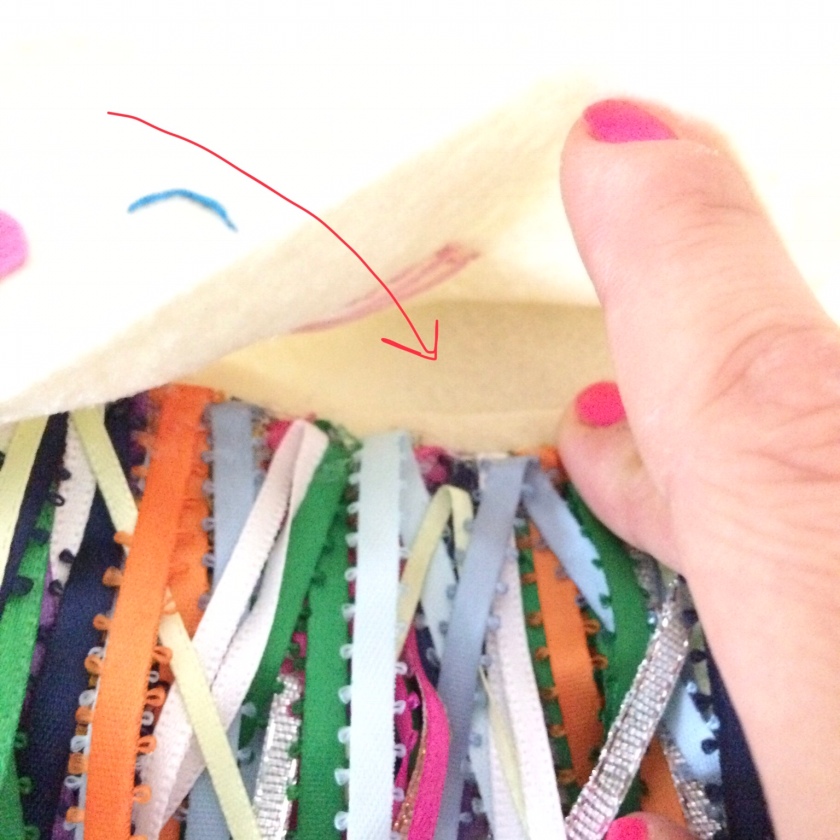 Instead, of gluing the ribbons directly to the cloud I cut a strip of felt and arranged the ribbons randomly along it so that I could make sure they were secure and to prevent the glue from getting in the way when I sewed the cloud closed. So once I had all the ribbon attached to the felt strip I sewed and stuffed the cloud half way inserted the strip with the ribbon and was able to sew the cloud closed. Make sure you leave the bottom open so you can place your strip of felt with all the ribbons in the center. This made me feel more confident that the ribbons would not come loose because it is both glue and stitched.
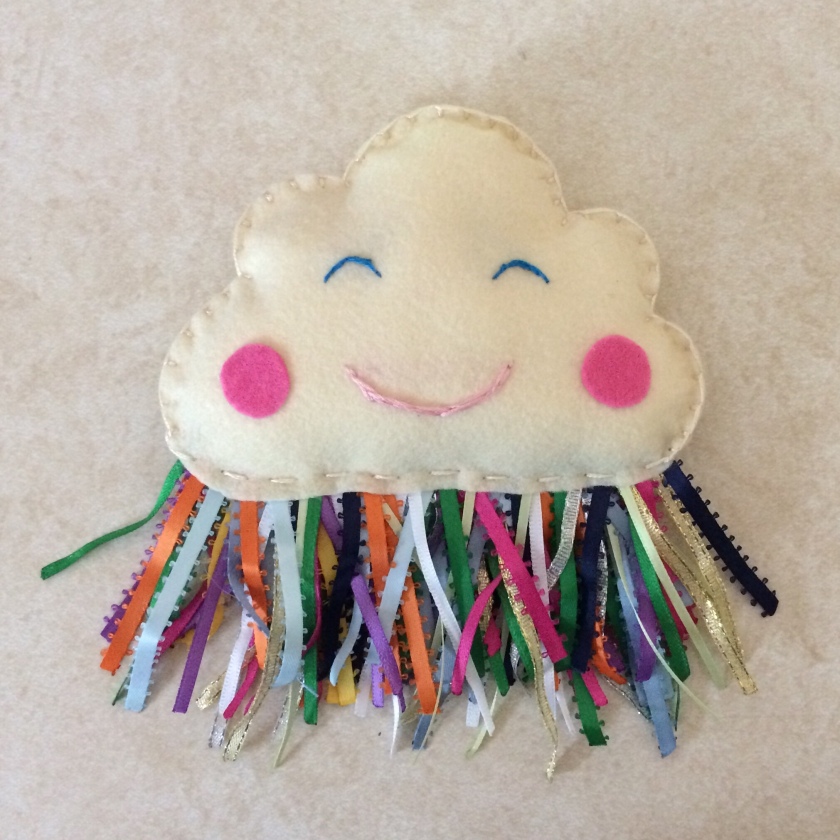
 I could not be more happy with the end result. When I was looking at this particular ribbon tag idea a bunch popped up on Pinterest like all sort of animal faces. So you don’t need to just make a cloud you could make a lion or a little purse. Hope you create something just as fun as this ribbon tag idea.
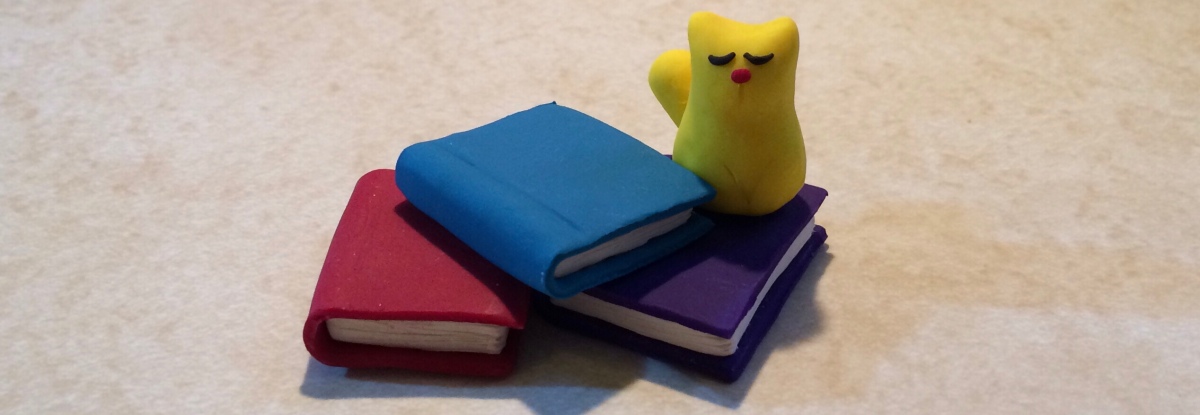
 The mountains were very simple and only required four small triangles two in beige and brown and two in white. You want to make the brown triangle bigger than the beige and you want to use the tops of those pieces to measure out the white caps. Once you make your two small white triangle mountain caps cut out small triangle chunks from the bottom so it looks a little jagged. Then put the mountains together and bake as directed.
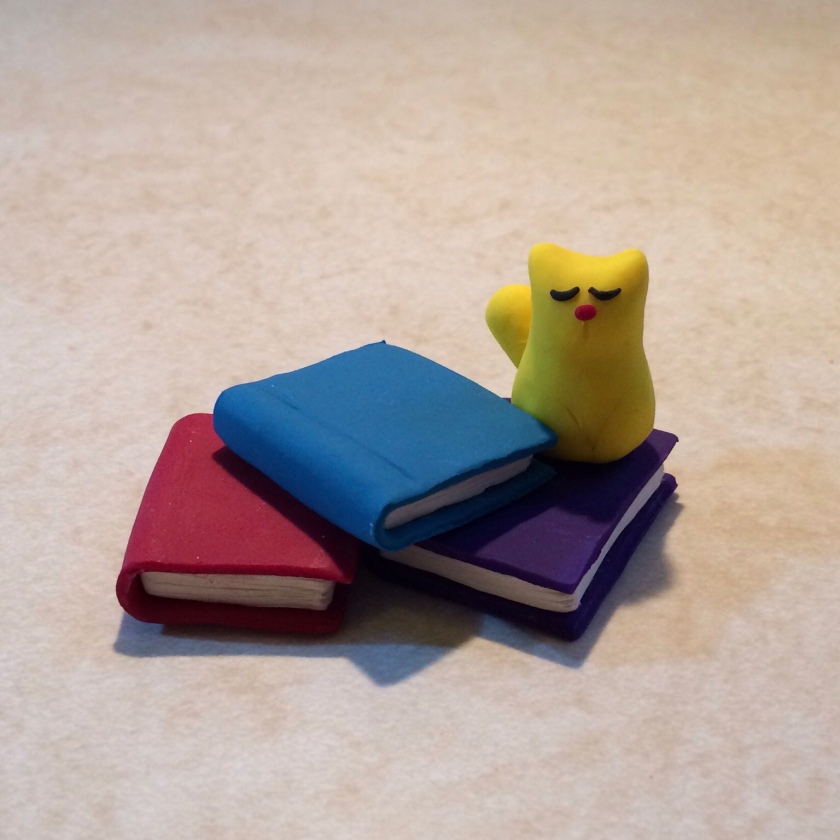
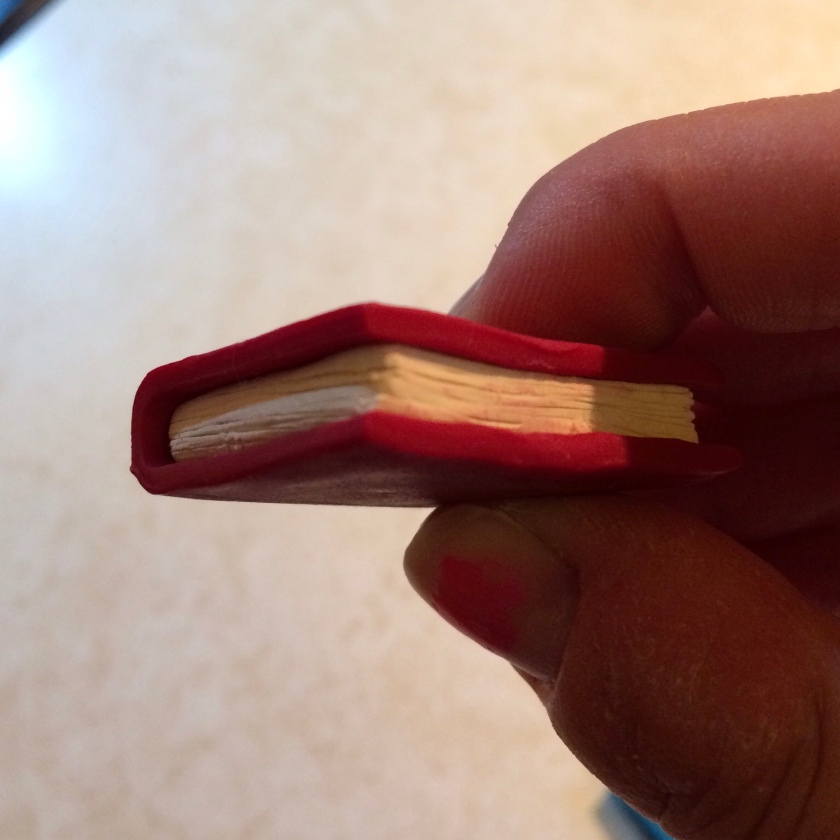
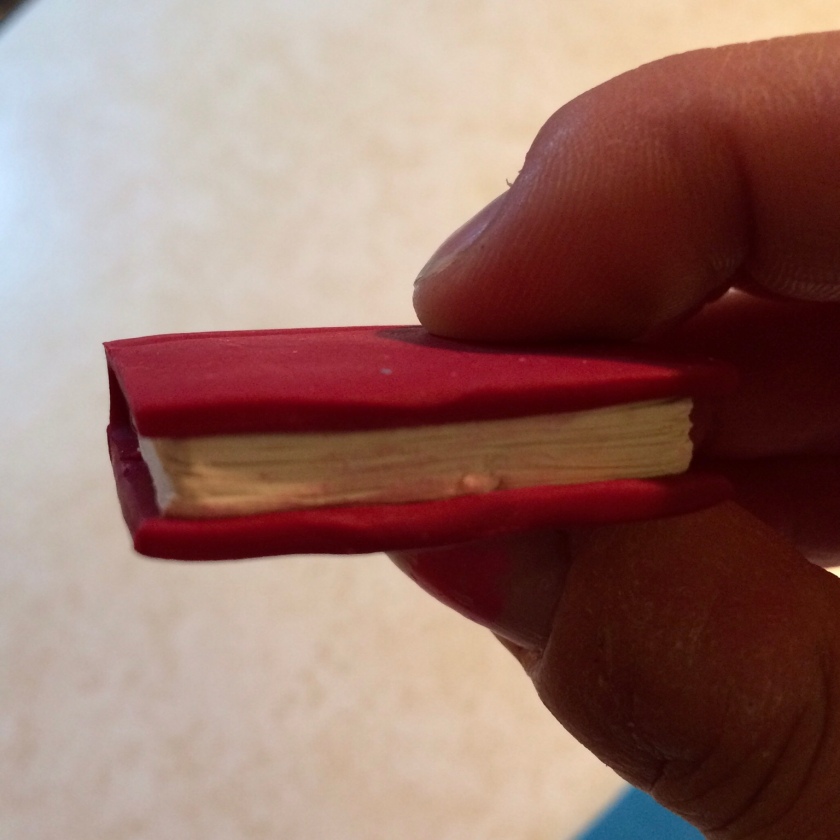 The books were just as simple. I cut three small rectangles from white and a small amount of beige to make the pages. Then I took a box cutter and went along three sides of the rectangle to make it really look like pages. I found that if you go over the two exposed corners of the rectangle with the cutter the pages look even more realistic. Then roll out three thinner and longer rectangles for the cover and place the pages inside and trim the excess I used a tooth pick to make the binding line.
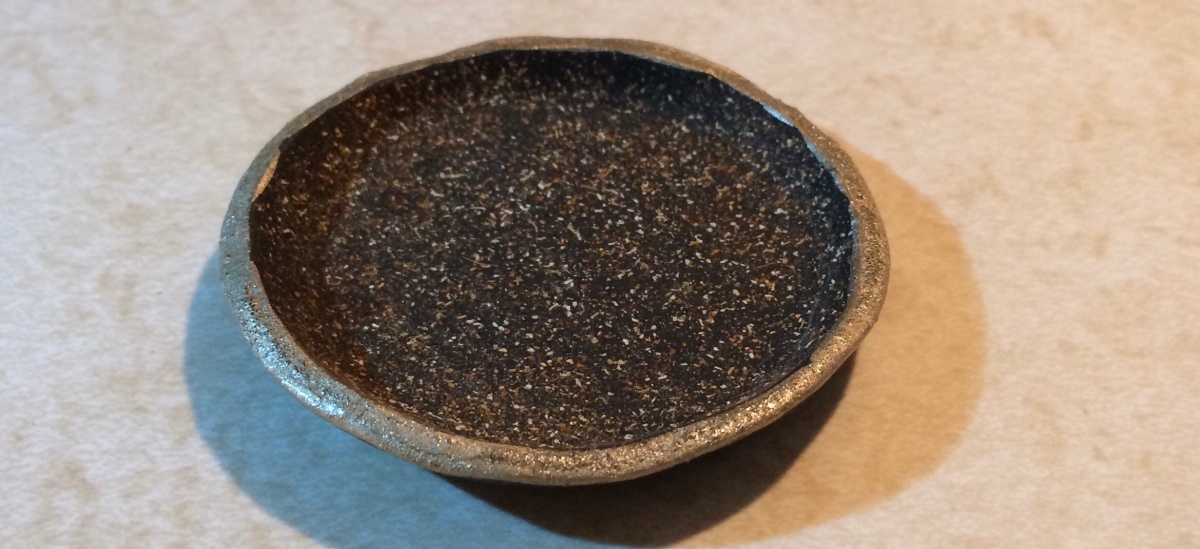


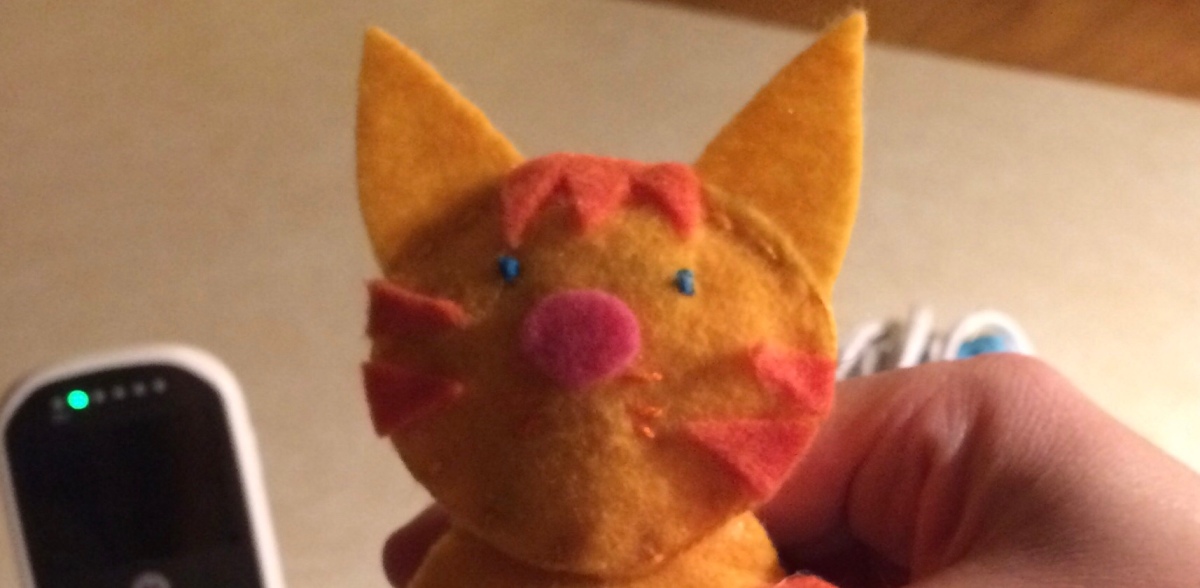
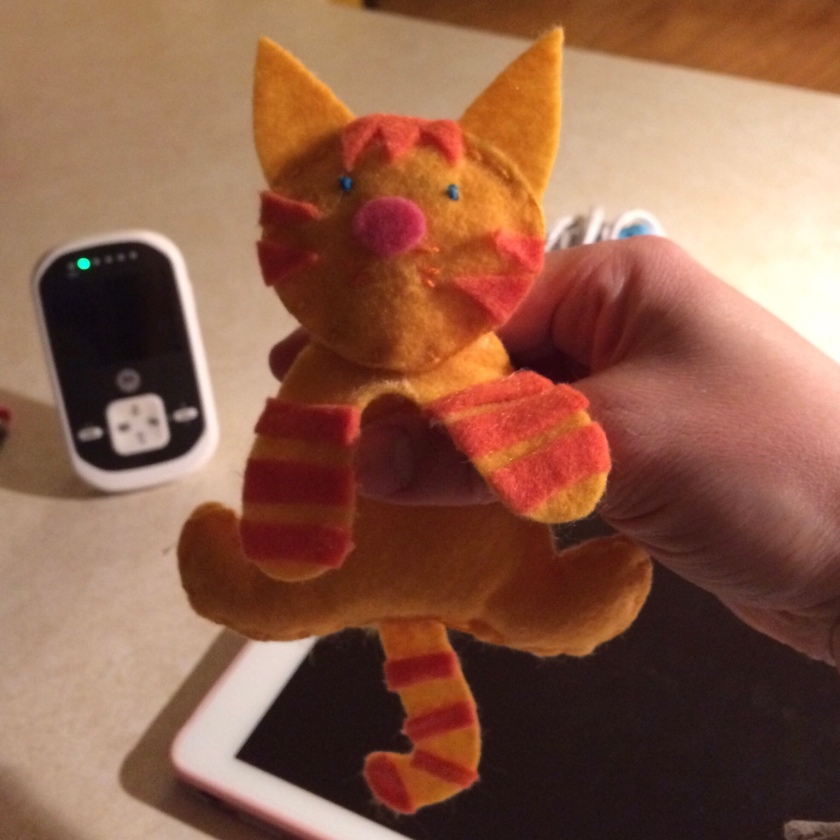
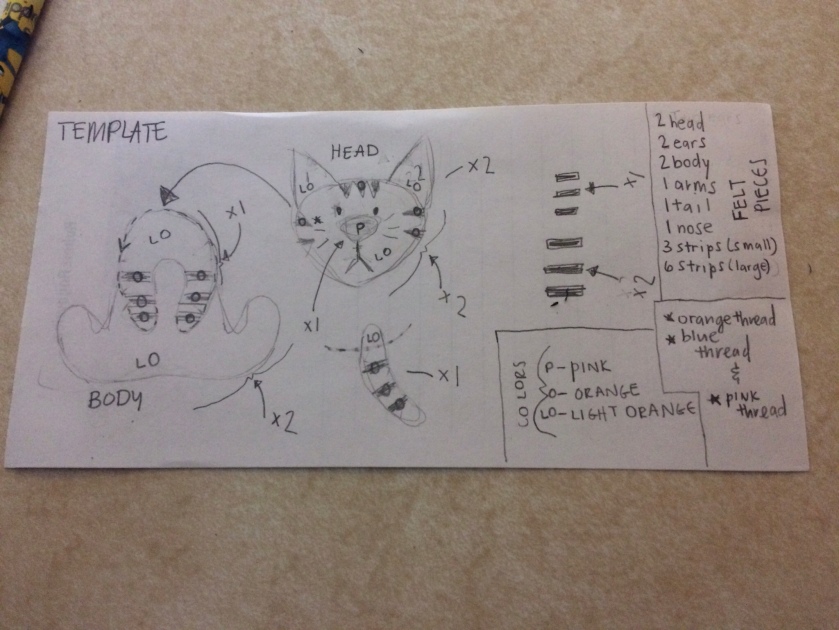 I used orange and light orange felt for pretty much the whole cat. As you can see in the template I listed all the items you will need to make this felt kitty. It’s a little scattered but that’s just how my brain works best. Basically I cut all the felt and ended needing to make a few alterations to the original design. Then I stitched him up and used the hot glue for the stripes.
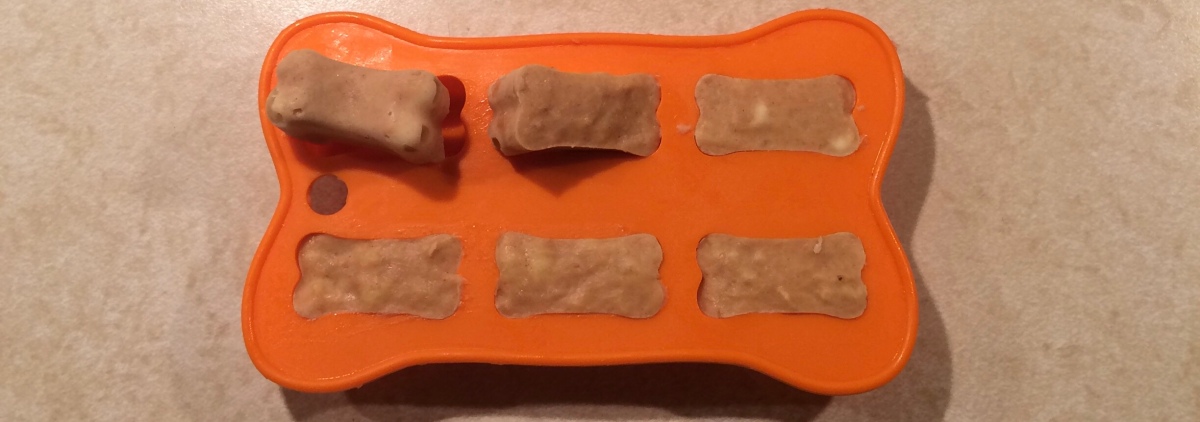
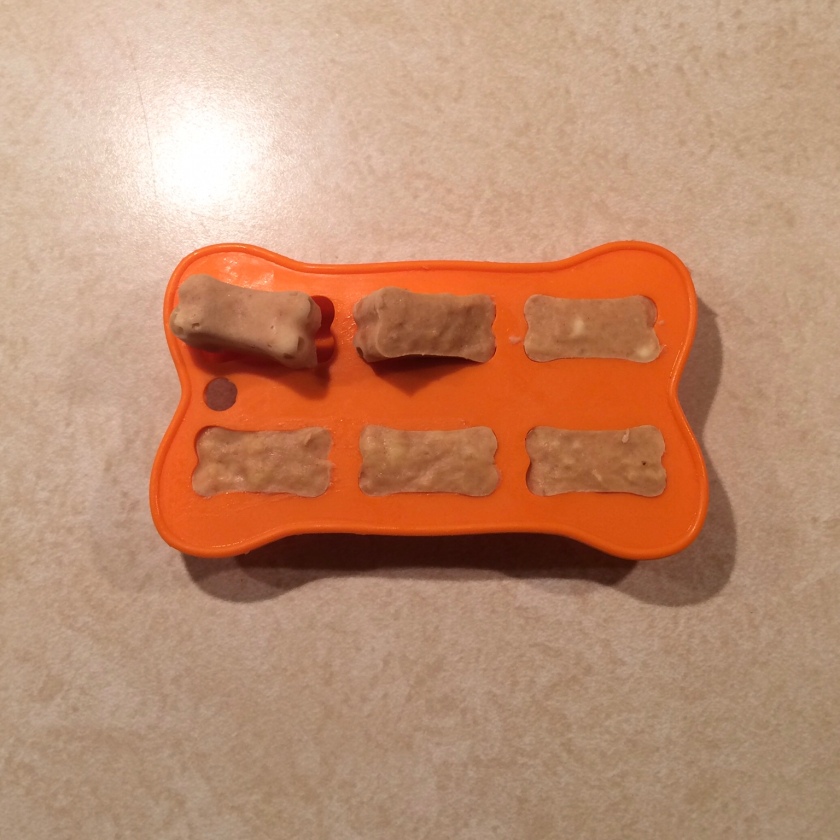

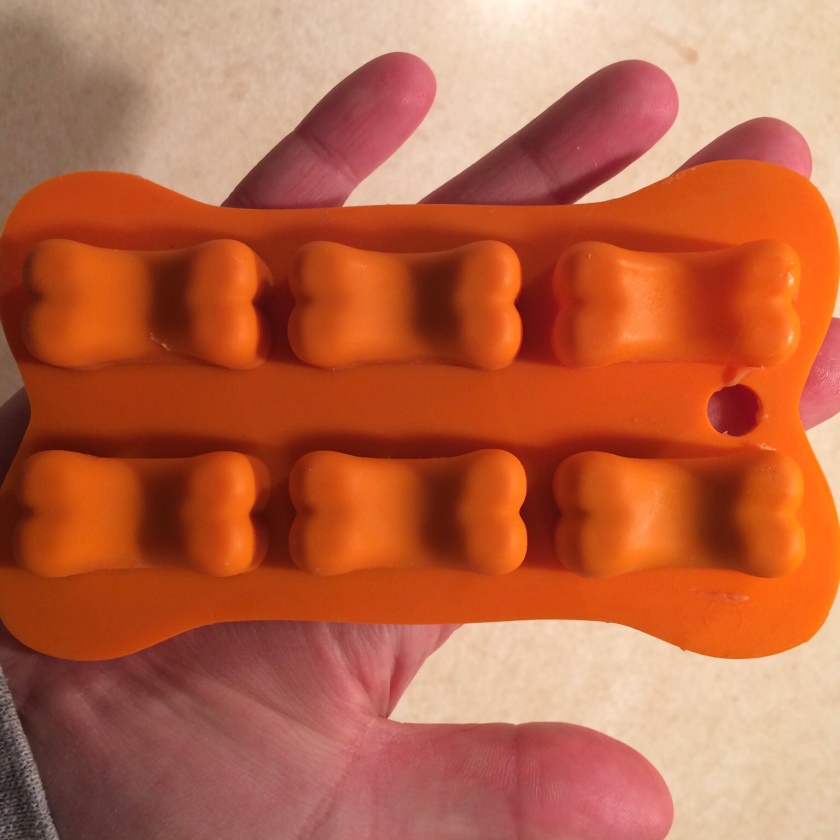 Basically I added equal parts of peanut butter and smashed banana, mixed them and add them to the mold. That’s it, so easy! My dog goes crazy for these and the fact that they are bone shaped just makes them perfect. You don’t need to use peanut butter and banana either you can make any flavor frozen treat your dog likes. I even just make him regular ice cubes with water when I am feeling lazy and he still loves them.
 My dog is easy to please and if yours is too then they will love anything you give them, especially if its frozen on a hot day. Hope you make your pups something cool this summer bone shaped or not.